

Operate the Lift with Confidence
OPERATE
Learn how to safely and correctly operate the lift system step by step. This guide covers controls, lifting process, and handling so you can work with confidence in your garage.
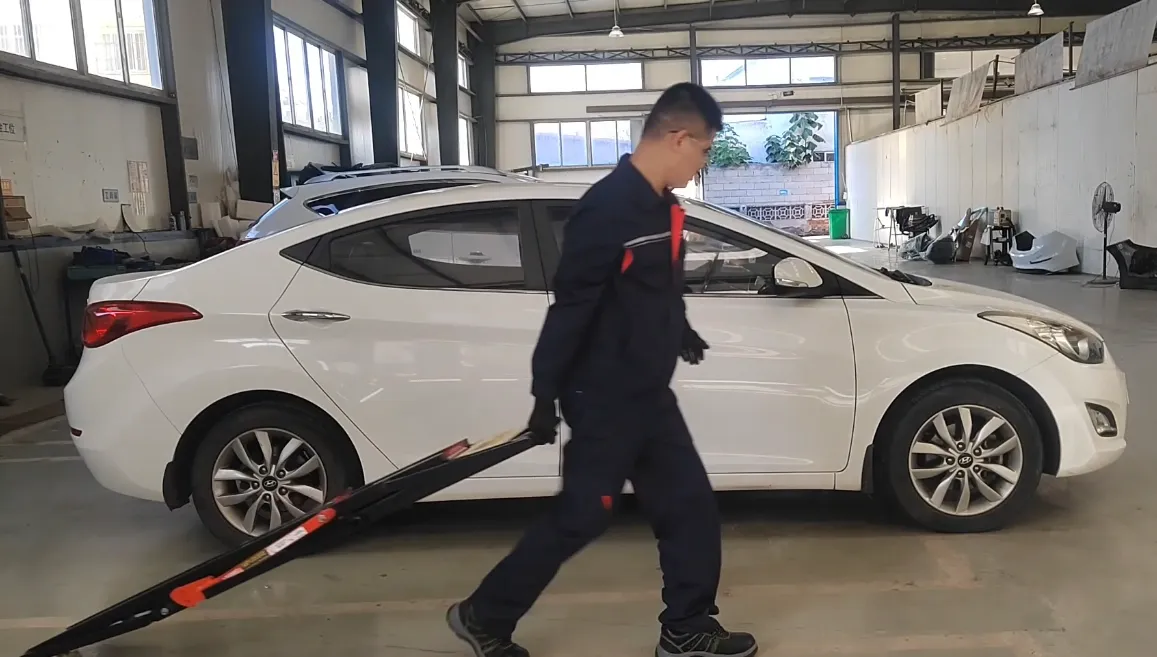
Step 1
Place the lifting bracket
Drag the lift to both sides of the vehicle (no personnel in the car and no heavy objects on the side of the vehicle) to ensure that the safety lock lever of the lift is on the outside of the vehicle, which is convenient for personnel to operate. Move the lift to the underside of the vehicle skirt, adjust and determine the lifting position, try to ensure that the front, rear, left and right directions of the lifts are parallel, and put the rubber blocks.
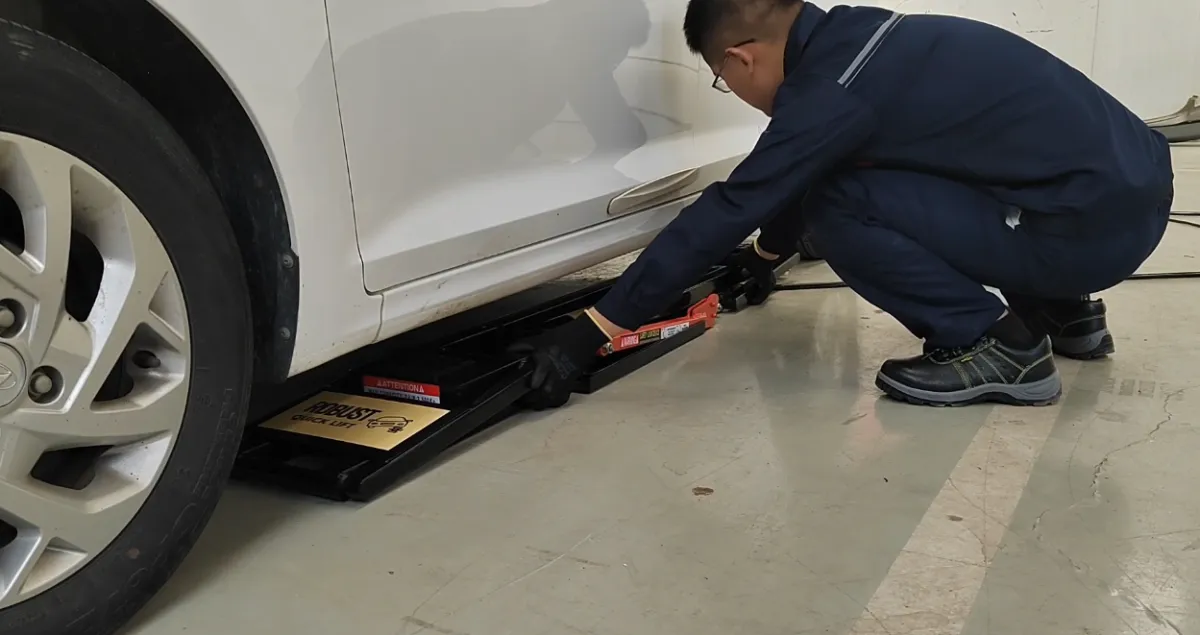
Step 2
Positioning and Alignment
The bottom of the lifting frame is equipped with universal wheels, which can be pushed to the bottom of the vehicle from front to back, from left to right. Adjust the rubber pad to the lifting point
After confirming the position of the lifter and the vehicle, press the “Up” button on the remote control. Stop when the lifter is near the vehicle’s lifting point, then check and adjust the alignment between the contact pad and the lifting point again.
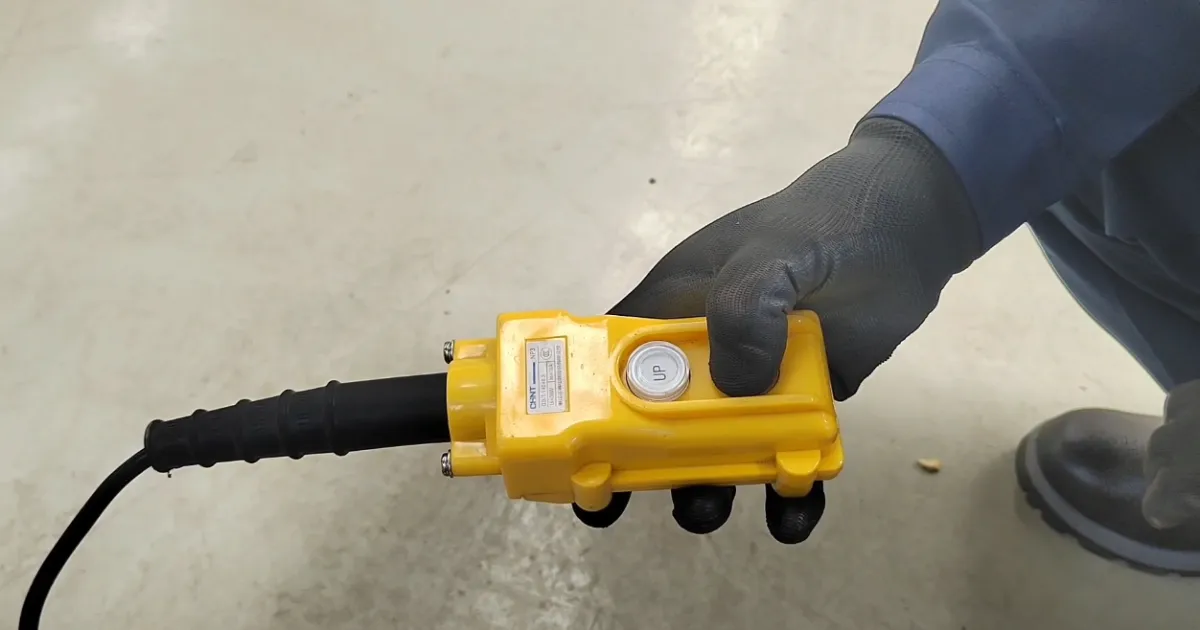
Step 3
Raise and Secure the Lift
Press the “Up” button until the lifting platform reaches the full height position.
Press the “Down” button to fully lock the mechanical lock and start maintenance work
In this state, the lock teeth are in occlusal state.
Not Sure Which Lift Is Right For You?
Answer a few quick questions about your garage & how you work
— we’ll recommend the right setup for you.
⏱️ 60 seconds. No guesswork.
Not Sure Which Lift Is Right For You?
Answer a few quick questions about your garage & how you work — we’ll recommend the right setup for you.
60 seconds. No guesswork.

Professional-quality lifting for your home garage.
Robust Garage Solutions. © 2026
Owned & Operated by:
Robust Quick Lift
Products
Materials
Legal
Professional-quality lifting for your home garage.
© 2026 Robust All Rights Reserved.